> ## Documentation Index
> Fetch the complete documentation index at: https://docs.westyx.cloud/llms.txt
> Use this file to discover all available pages before exploring further.
# Create a project
> Create a new project in the Nexus console.
A project represents a single application or product - with its own services, environments, secrets, configs, and feature flags.
## Steps
In the left sidebar, click **Projects**.
Then click the **+ New Project** button in the top-right corner.
Enter a name for your project. This is used as an identifier - for example in the CLI - so short and descriptive works best.
Select the tier that matches your needs. Each tier defines your resource quotas: number of services per environment, secrets, configs, flags, and audit history length.
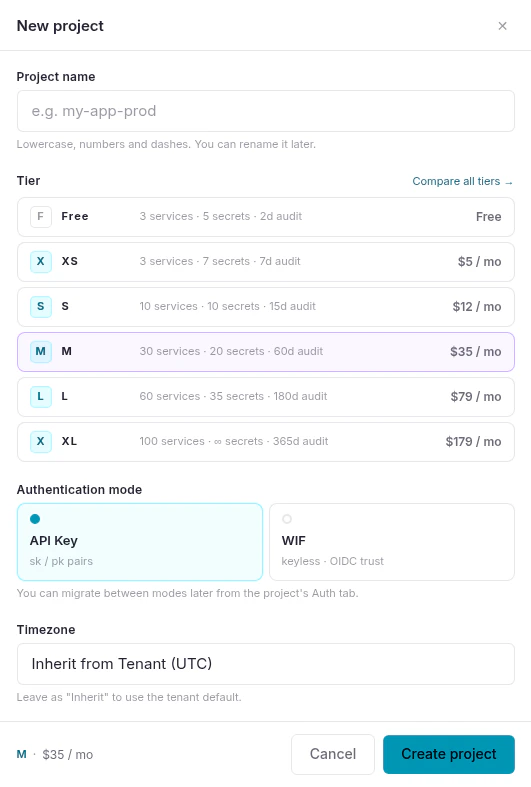
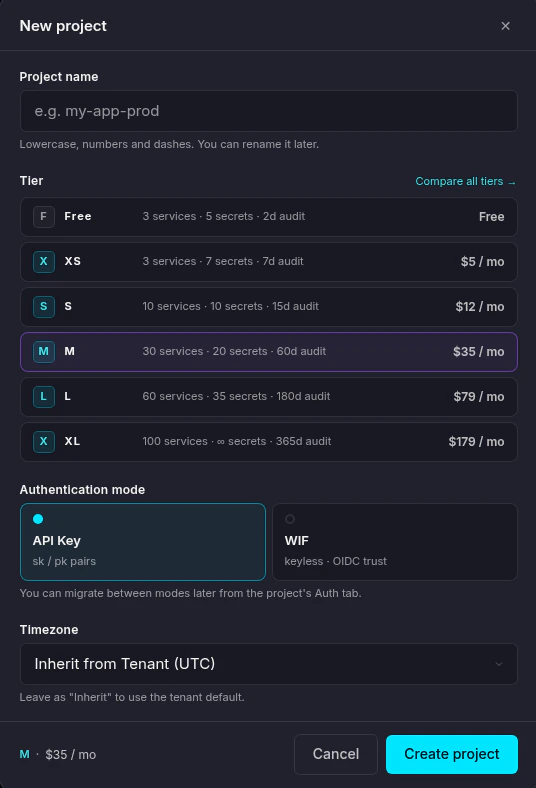 Use the **Compare all tiers →** link to open the full Plans & Tiers page in the console.
| Tier | Environments | Notes |
| ------ | ------------------------------------------------- | --------------------------- |
| `free` | develop | Always free, no card needed |
| `xs` | develop, prod | First paid tier |
| `s` | develop, test, prod | Adds test environment |
| `m` | develop, test, staging, prod | Mid-scale |
| `l` | develop, test, staging, qa, prod-blue, prod-green | Large scale |
| `xl` | All of the above | Unlimited resources |
You can upgrade the tier at any time from Project Settings.
| Mode | Description |
| ----------- | ------------------------------------------------------------------------------------------------------------------------------------------------------------------------------------------- |
| **API Key** | Services authenticate with secret key (`wxs_`, backend) or public key (`wxp_`, frontend) pairs. Simple to set up. |
| **WIF** | Workload Identity Federation - keyless authentication via OIDC trust. Compatible with GCP, AWS, Azure, and Kubernetes. More secure since no static API keys are stored in your deployments. |
WIF requires the **L** or **XL** tier, or the **Security Add-On** (\$5 / project / month) on lower tiers.
You can migrate between modes later from the project's **Auth** tab.
The project timezone defaults to your tenant's timezone. Override it here if the project serves a different market or region.
This setting is used by the anomaly detection system: activity outside of business hours in the configured timezone may trigger a suspicious behaviour alert.
Click **Create project**. You will be returned to the Projects list.
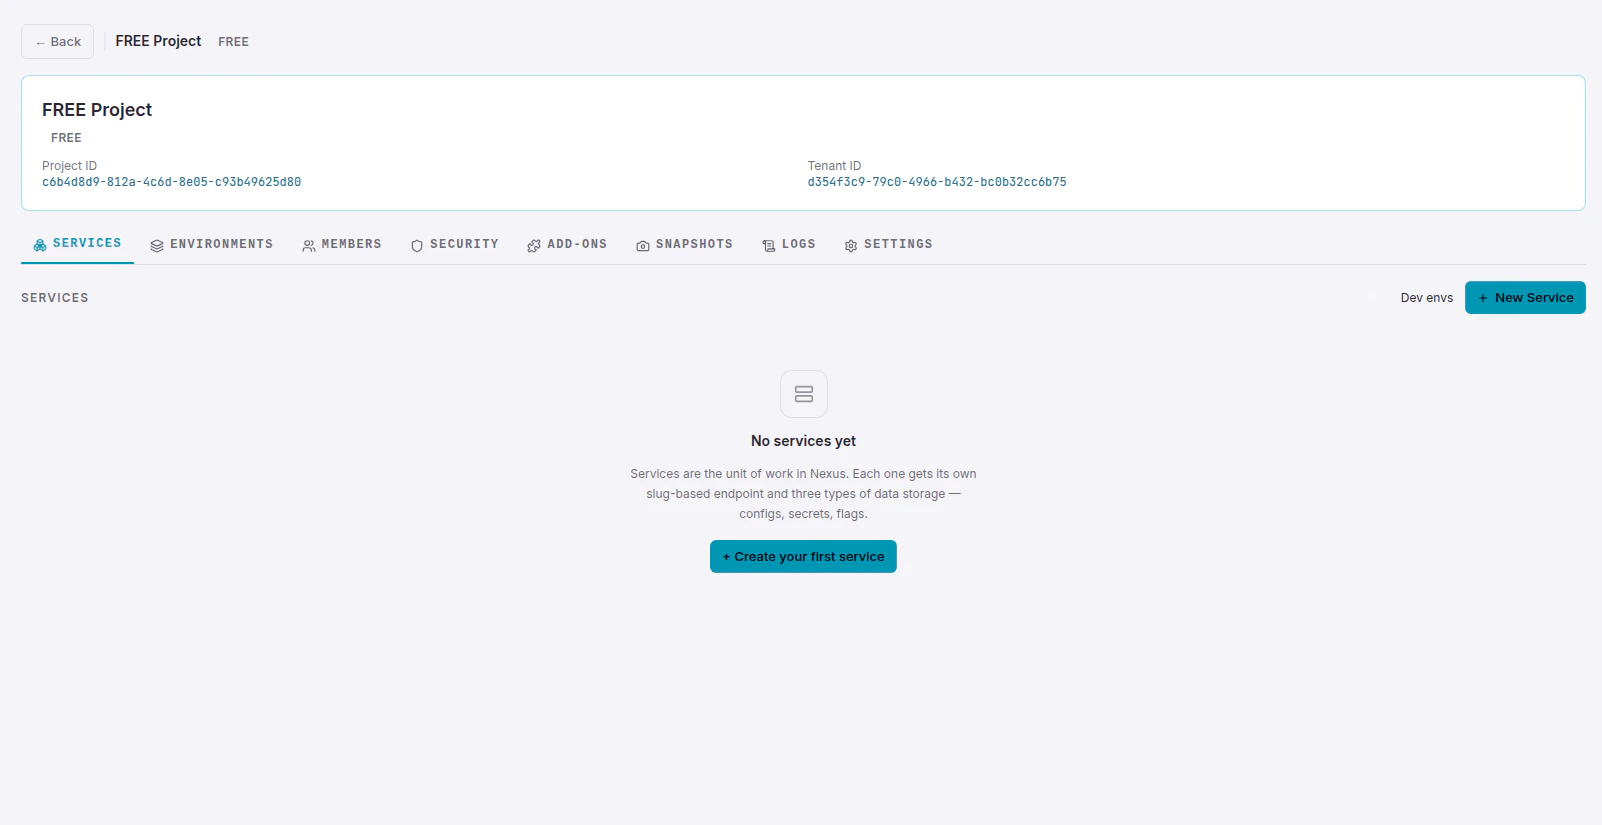
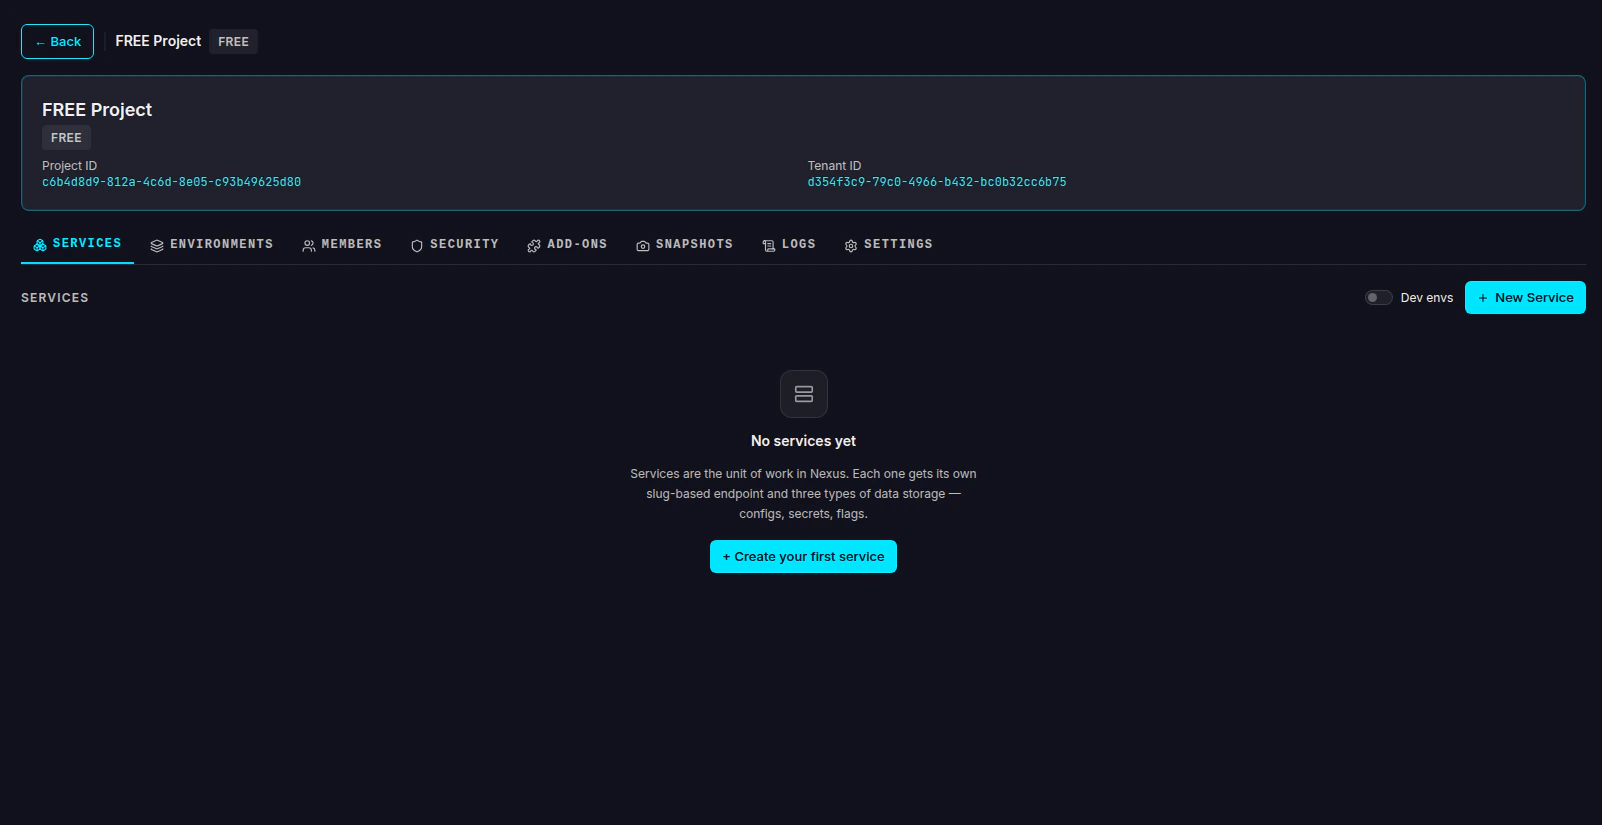
Click on your new project to open it. From here you can manage services, environments, members, security, add-ons, snapshots, logs, and settings.
Use the **Compare all tiers →** link to open the full Plans & Tiers page in the console.
| Tier | Environments | Notes |
| ------ | ------------------------------------------------- | --------------------------- |
| `free` | develop | Always free, no card needed |
| `xs` | develop, prod | First paid tier |
| `s` | develop, test, prod | Adds test environment |
| `m` | develop, test, staging, prod | Mid-scale |
| `l` | develop, test, staging, qa, prod-blue, prod-green | Large scale |
| `xl` | All of the above | Unlimited resources |
You can upgrade the tier at any time from Project Settings.
| Mode | Description |
| ----------- | ------------------------------------------------------------------------------------------------------------------------------------------------------------------------------------------- |
| **API Key** | Services authenticate with secret key (`wxs_`, backend) or public key (`wxp_`, frontend) pairs. Simple to set up. |
| **WIF** | Workload Identity Federation - keyless authentication via OIDC trust. Compatible with GCP, AWS, Azure, and Kubernetes. More secure since no static API keys are stored in your deployments. |
WIF requires the **L** or **XL** tier, or the **Security Add-On** (\$5 / project / month) on lower tiers.
You can migrate between modes later from the project's **Auth** tab.
The project timezone defaults to your tenant's timezone. Override it here if the project serves a different market or region.
This setting is used by the anomaly detection system: activity outside of business hours in the configured timezone may trigger a suspicious behaviour alert.
Click **Create project**. You will be returned to the Projects list.
Click on your new project to open it. From here you can manage services, environments, members, security, add-ons, snapshots, logs, and settings.
 ## Next steps
Add a backend or frontend service to your project.
Compare all available tiers and quotas.
## Next steps
Add a backend or frontend service to your project.
Compare all available tiers and quotas.