
Steps
1
Open the Projects page
In the left sidebar, click Projects.Then click the + New Project button in the top-right corner.
2
Name your project
Enter a name for your project. This is used as an identifier - for example in the CLI - so short and descriptive works best.
3
Choose a tier
Select the tier that matches your needs. Each tier defines your resource quotas: number of services per environment, secrets, configs, flags, and audit history length.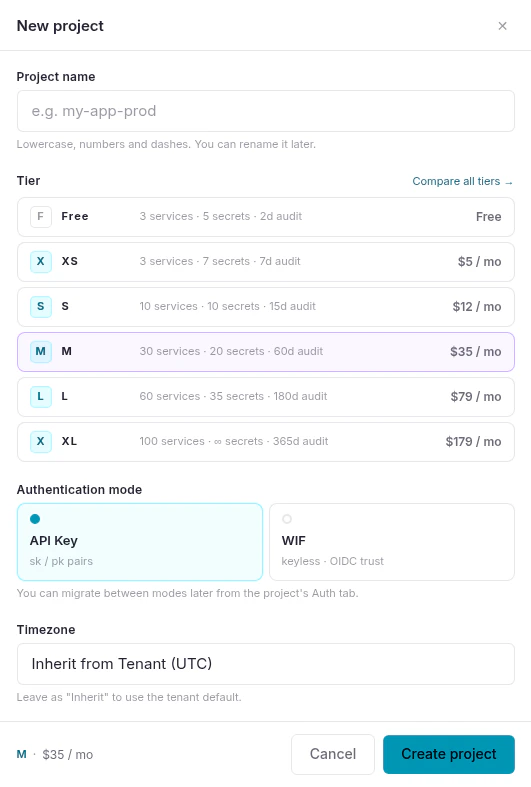
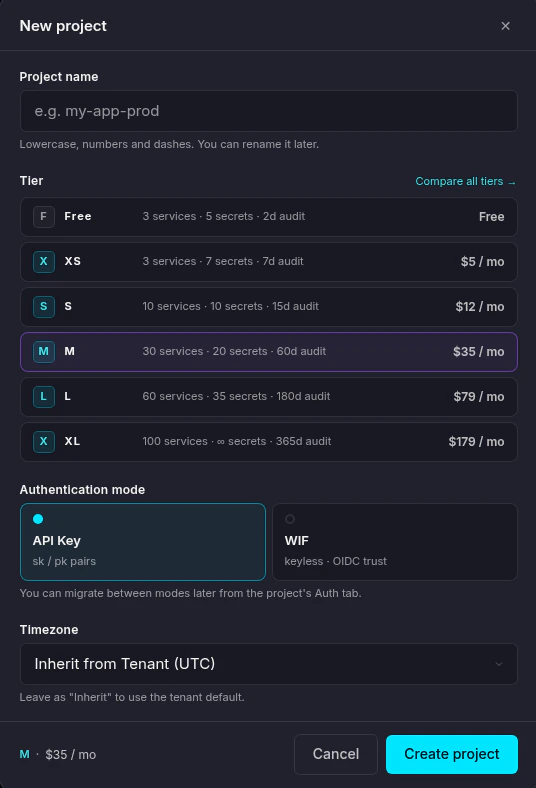
You can upgrade the tier at any time from Project Settings.
4
Choose an authentication mode
WIF requires the L or XL tier, or the Security Add-On ($5 / project / month) on lower tiers.
5
Set the timezone
The project timezone defaults to your tenant’s timezone. Override it here if the project serves a different market or region.This setting is used by the anomaly detection system: activity outside of business hours in the configured timezone may trigger a suspicious behaviour alert.
6
Create the project
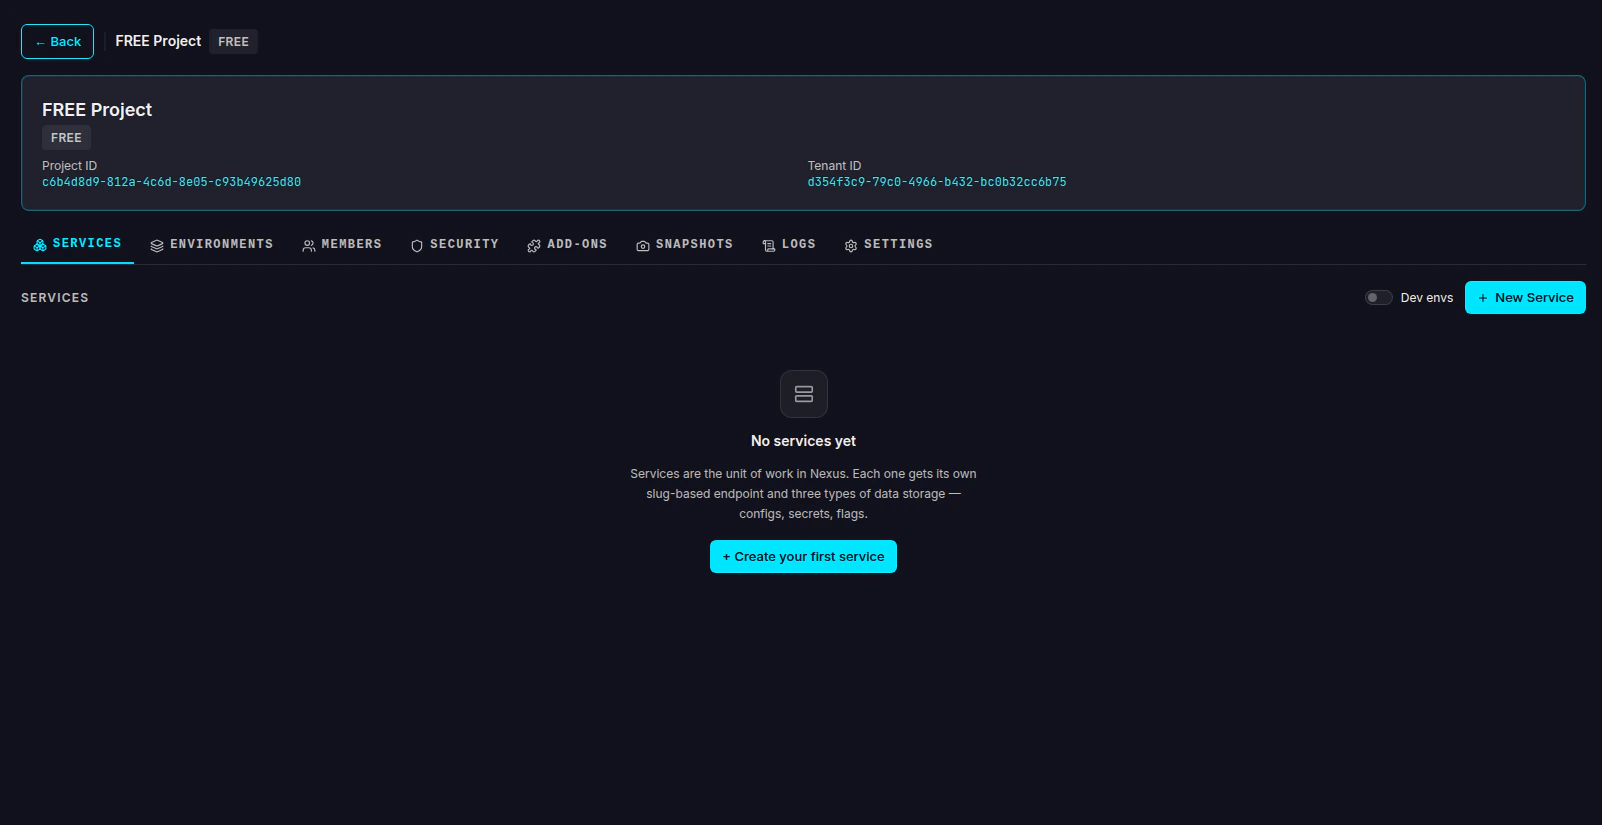
Click Create project. You will be returned to the Projects list.Click on your new project to open it. From here you can manage services, environments, members, security, add-ons, snapshots, logs, and settings.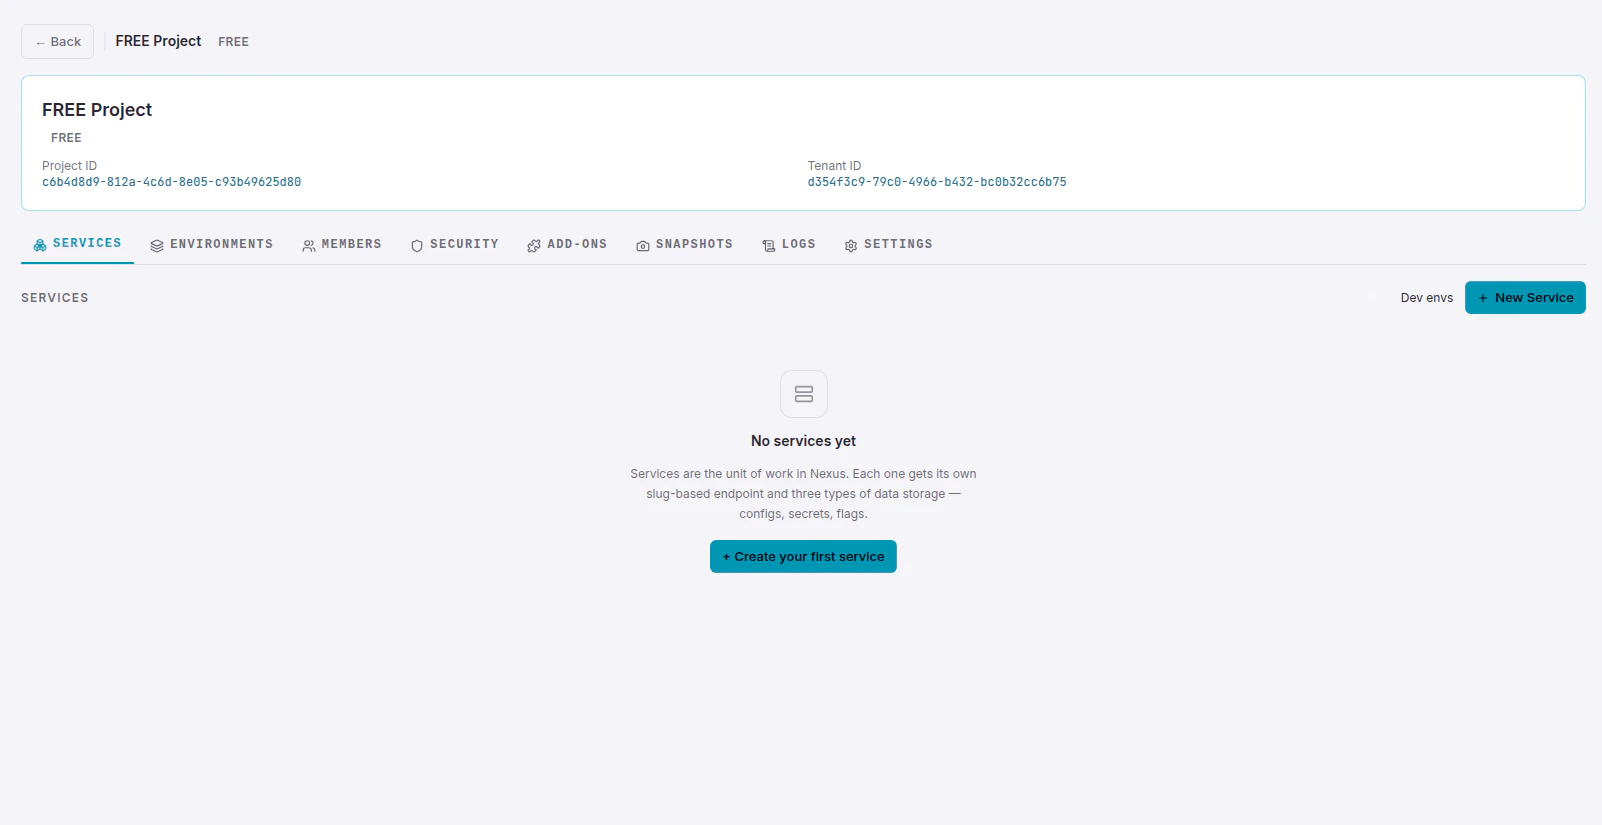
Next steps
Create a service
Add a backend or frontend service to your project.
Plans & Tiers
Compare all available tiers and quotas.