
1
Create your account
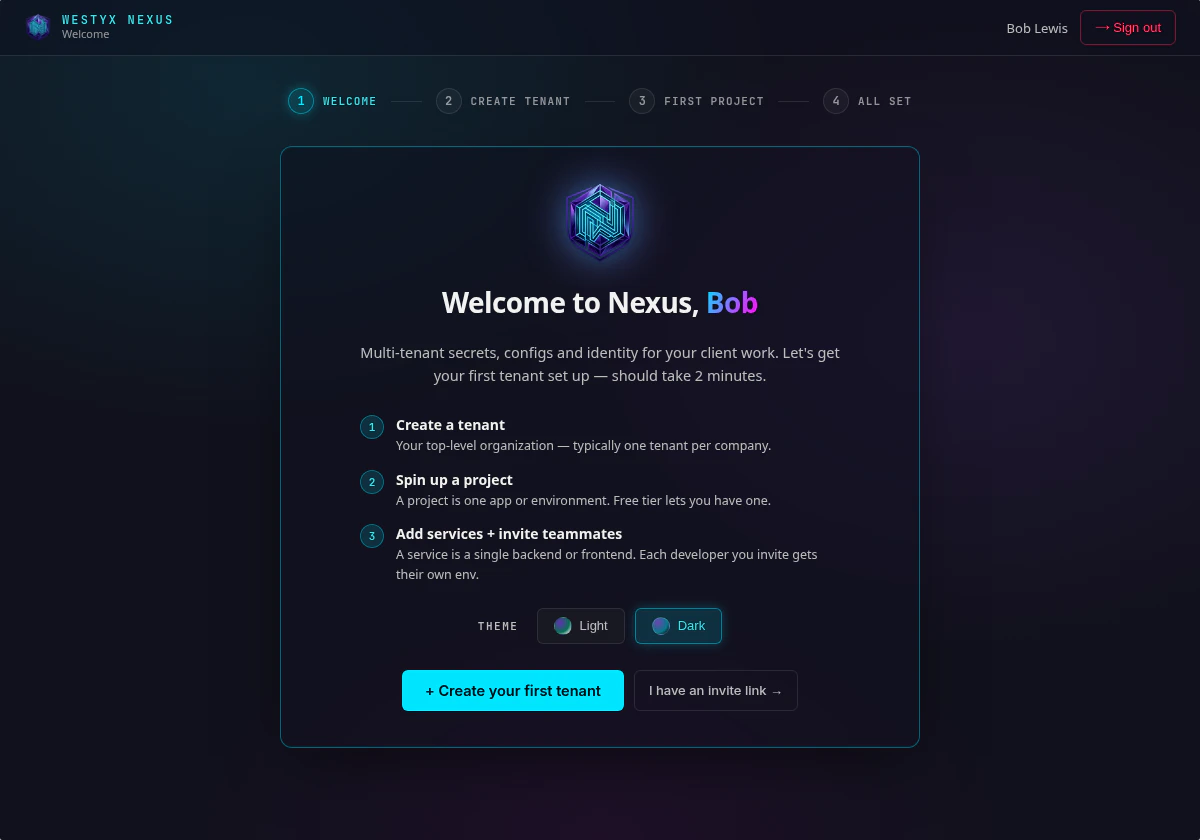
Sign up at nexus.westyx.dev with your work email or an existing identity provider.
2
Set up your tenant
After signing in, you will be prompted to create your tenant. This is your top-level billing and access boundary.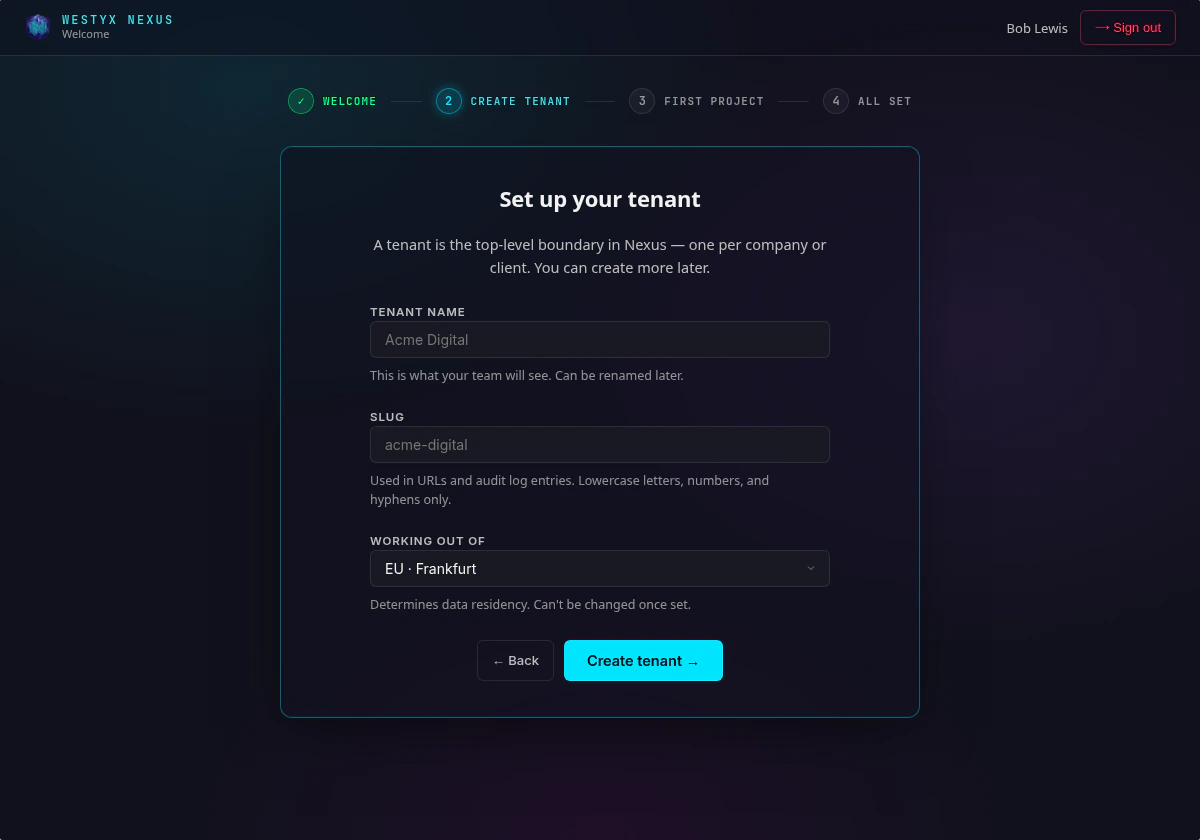
Nexus is built for teams but works equally well for individuals and freelancers managing their own projects.
3
Create your first project
A project represents a single application or product - with its own services, environments, and member list.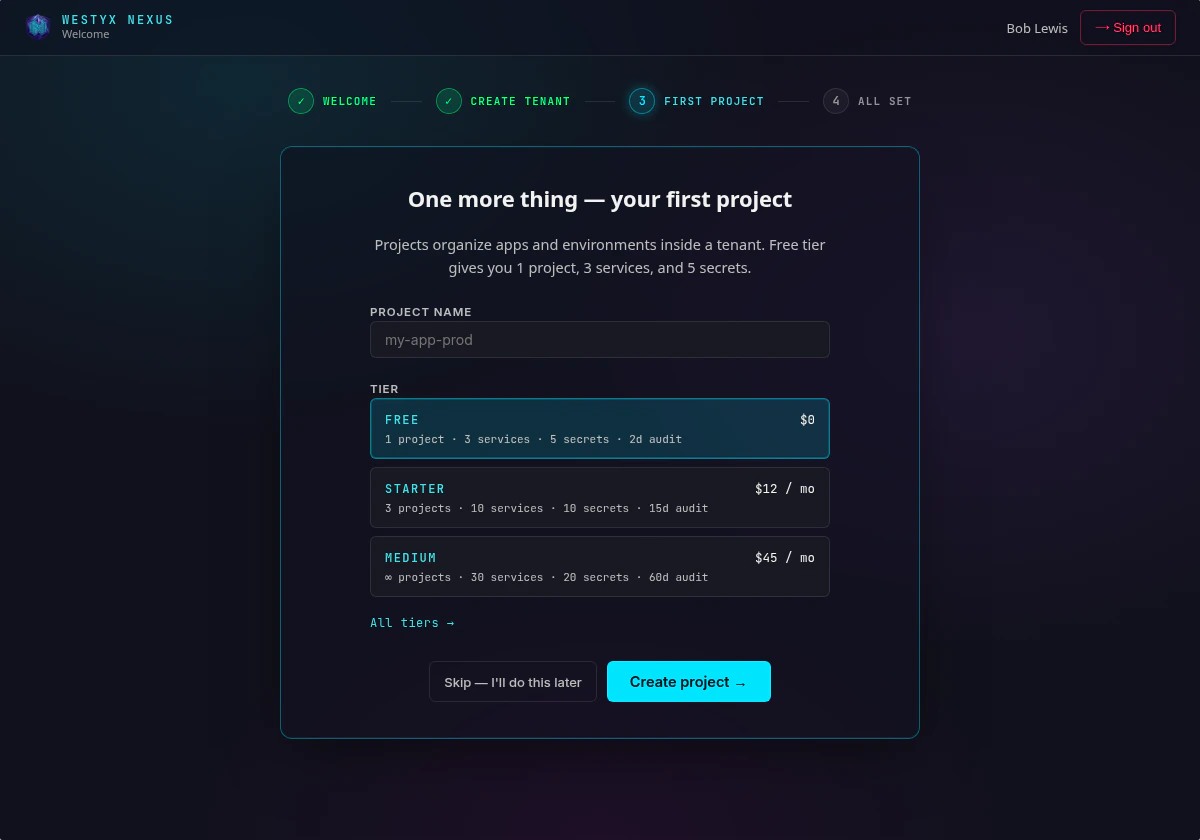
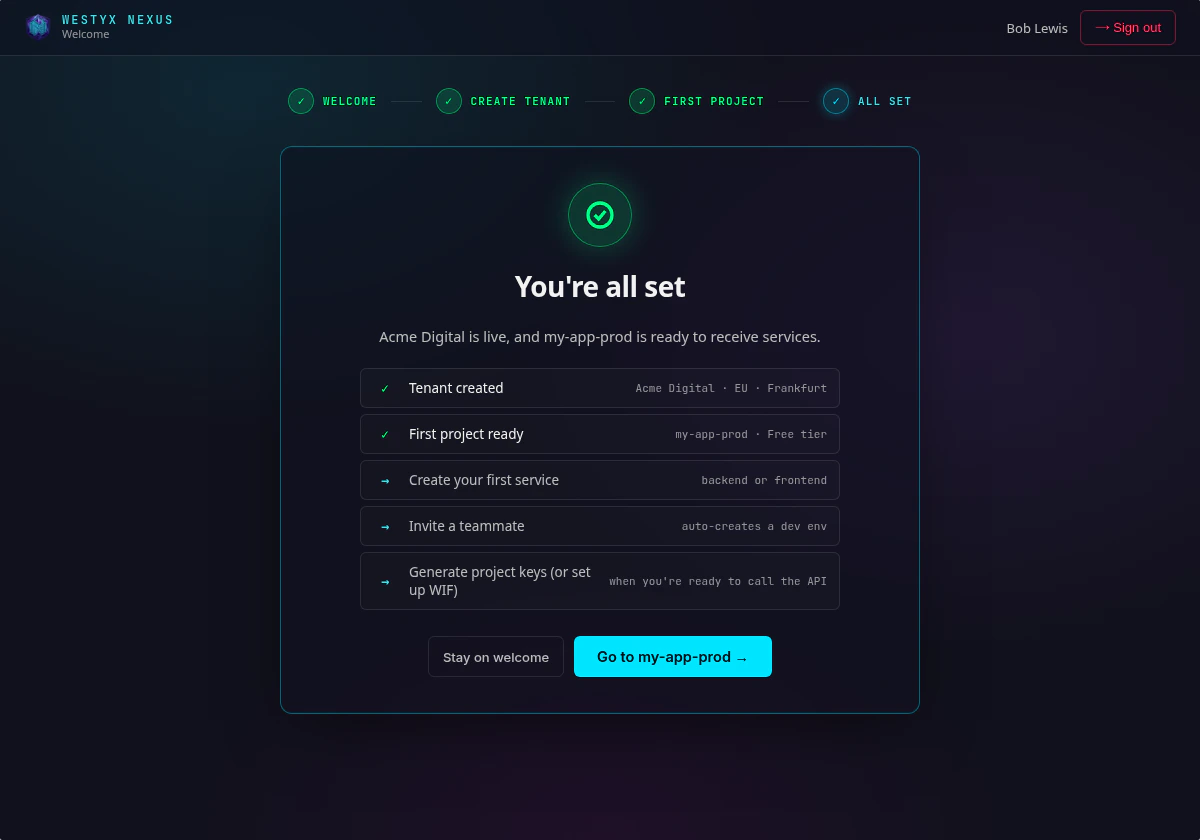
You can upgrade the tier at any time from Project Settings.
4
Create a service
Within your project, create a service for each deployable unit - a backend API, a frontend app, a worker, etc.Every service has a kind:
- Backend - uses secret keys; can hold secrets, configs, and flags
- Frontend - uses public keys (safe to expose in the browser); configs and flags only (no secrets in the browser)
5
Add your first secrets and configs
Navigate to the Secrets or Configs tab on your service detail page.
- Secrets are encrypted at rest with AES-256-GCM and never appear in logs
- Configs support types:
string,number,boolean,json - Configs can reference secrets by key:
{{secret:DB_PASSWORD}}
6
Generate an API key
Go to API Keys on your service and generate a key.Copy it - it is shown only once. Store it in your deployment environment as
NEXUS_API_KEY or equivalent.7
Install the SDK and connect
Install the SDK for your language and initialise the client with your service endpoint and API key.See the Quickstart for language-specific code samples, or browse the full SDK reference.